Welcome to this edition of Wireless Wednesday. Each Wednesday NXP will be bringing you articles, videos, blogs and more on key topics for wireless connectivity.
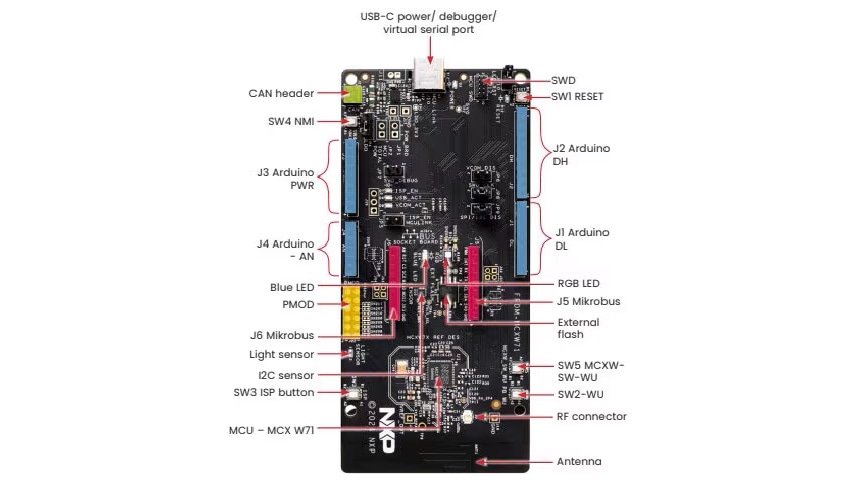
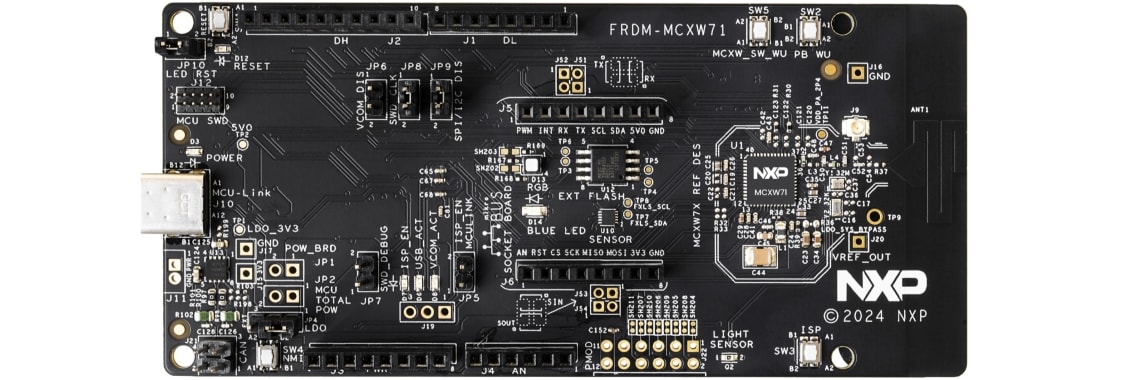
This Wednesday, we are excited to show you how to make your first wireless connection with the FRDM-MCXW71 board. The board includes everything needed for easy wireless development and rapid prototyping with a built in USB C programmer/debugger, Arduino and Mikrobus headers and multiple LEDs and sensors, as shown below. The MCX W71 device comes pre-programmed with a Bluetooth LE demo application, which we will be using to make our first wireless connection.
 FRDM-MCXW71 board details
NXP's FRDM-MCXW71 accelerates wireless development. To order, please visit our FRDM-MCXW71 webpage.
The simple steps usually come first, and this example is no exception; the first step is to plug in the board to any power source. It doesn’t need to be a PC, as this example is wireless and does not need any wired PC connection.
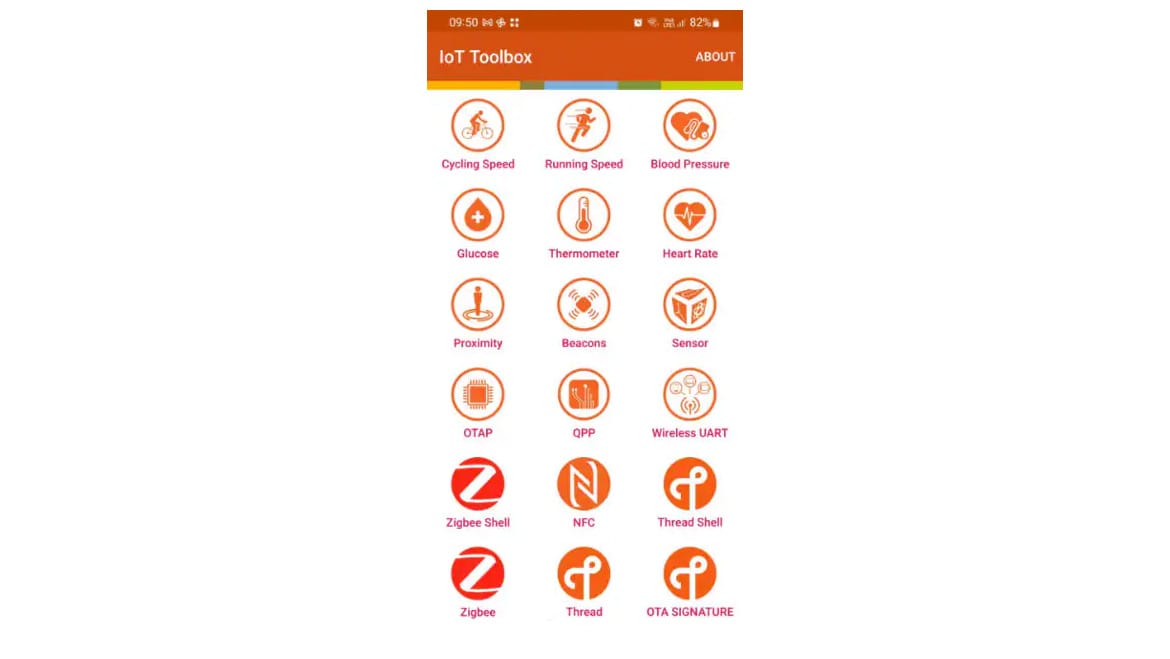
Next download the NXP IoT Toolbox app onto your smartphone. It can be found on the Google Play store or the Apple App store. Once the app is installed it will look like the below image. Simply tap the Wireless UART icon and tap “NXP_WU” to connect to the board.
 NXP's IoT Toolbox smartphone app
A blank page will appear with the phone’s keyboard enabled. Type in a single number from 0 to 4 and hit enter. This will change the color of the LED on the FRDM-MCXW71 board or turn it on or off, depending on which number you picked. With that, congratulations you have just made your first wireless connection. The source code and documentation for the example can be found on the Application Code Hub by searching for MCX W.
To see this demo in action, take a look at the video below or visit the FRDM-MCXW71 getting started page.
All Wireless Wednesday content is available through the NXP Smarter World blog by simply searching “Wireless Wednesday”.


