Getting Started with the MPC-LS-VNP-RDB
Last Modified:
2022-12-22 15:35:00Supports
MPC-LS Vehicle Network Processing Reference Design
Contents of this document
-
Unboxing
-
Get Software
-
Build and Run
Sign in to save your progress. Don't have an account? Create one.
Purchase your MPC-LS Vehicle Network Processing Reference Design
1. Unboxing
1.1 Overview
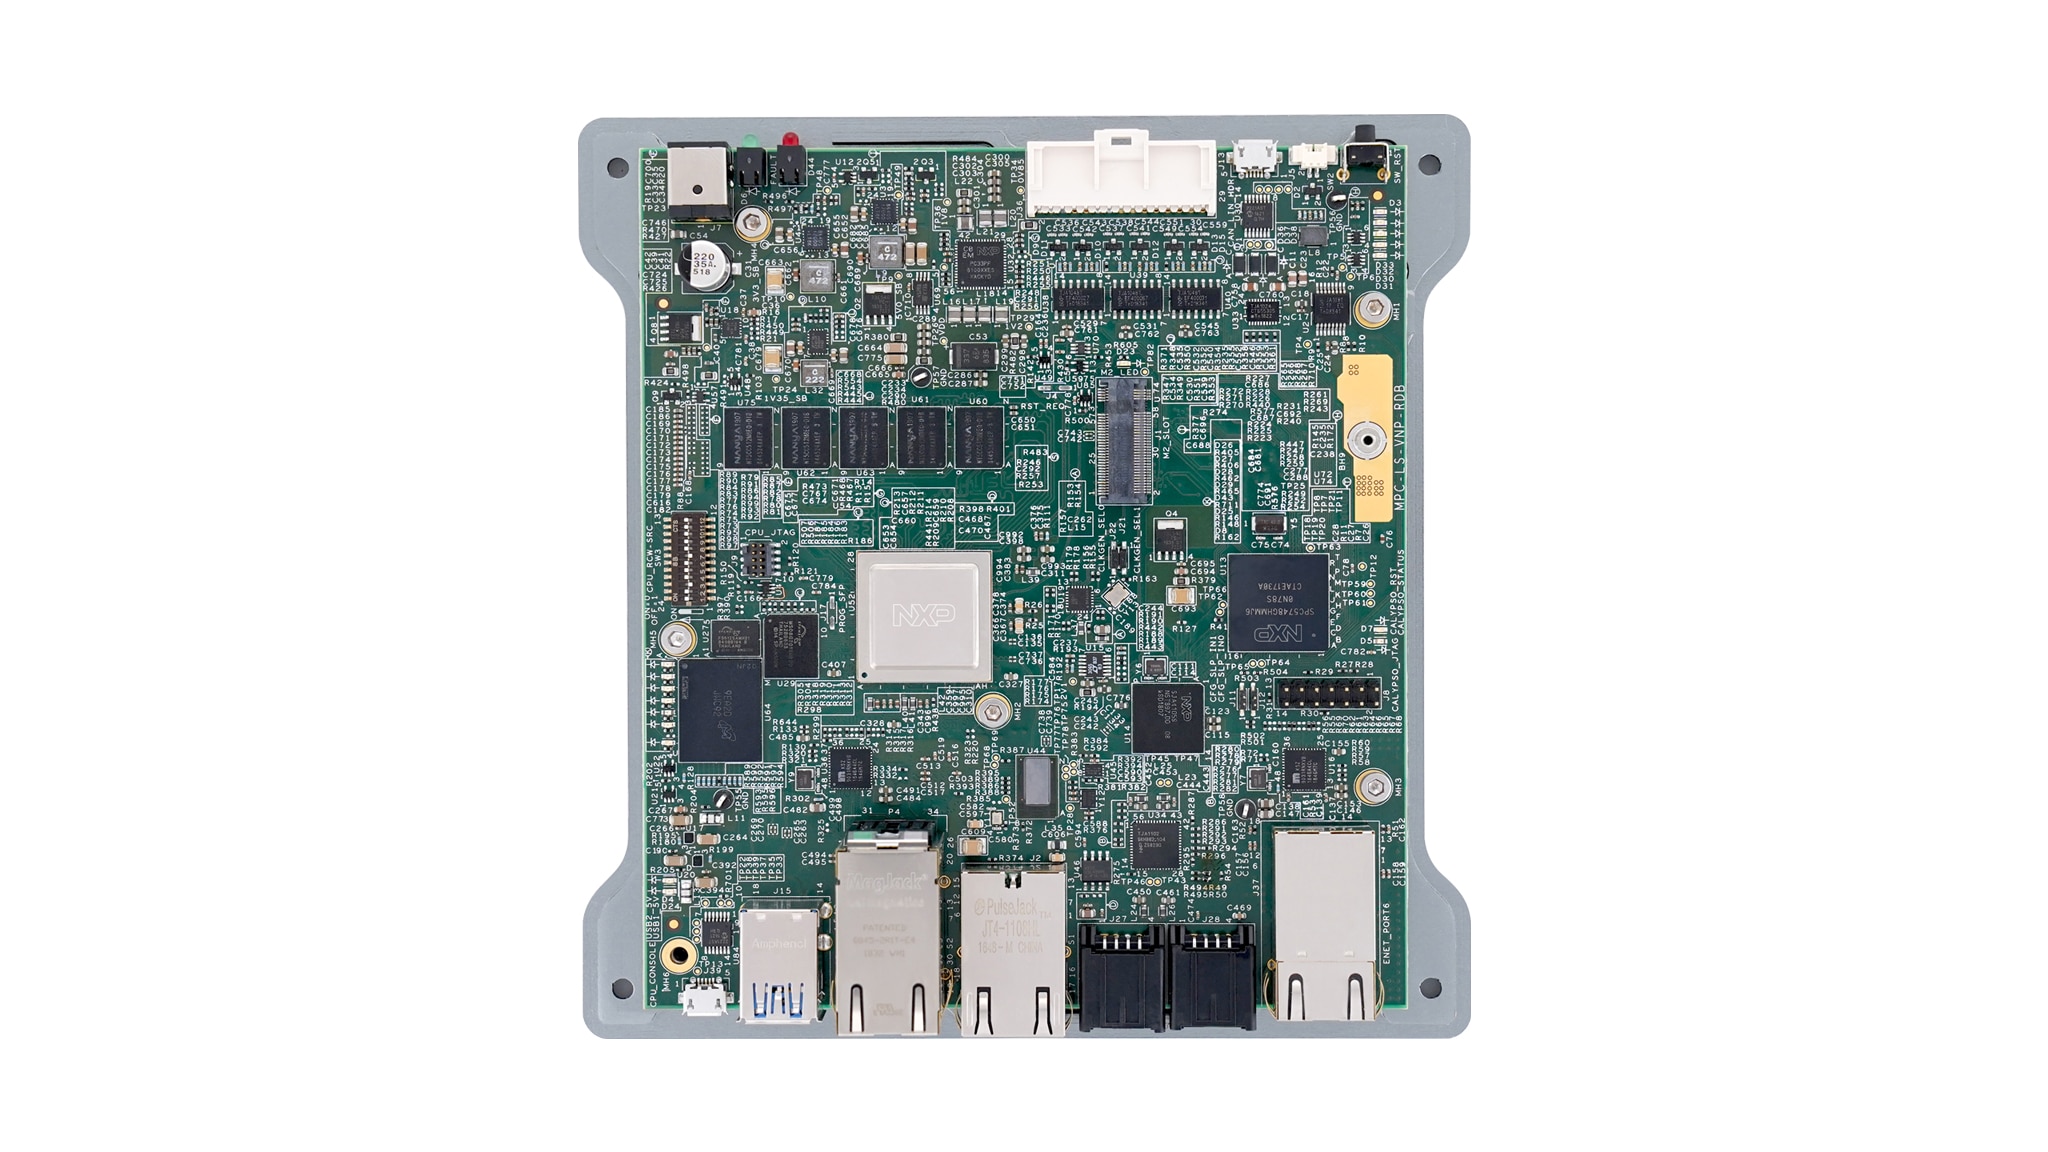
Let's take your MPC-LS-VNP-RDB for a test drive!
CAUTION
The MPC-LS-VNP-RDB enclosure provides thermal management. Do not run the RDB with the enclosure open without proper cooling. Refer to the MPC-LS-VNP-RDB User Manual for cooling recommendations.
2. Get Software
2.1 Choose Development Path
Get the Tera Term terminal emulator from CNET
Execute the file and proceed with the default configurations that the installation wizard recommends.
Get the Tera Term terminal emulatorGet the MCP2221A USB-to-UART driver from Microchip
Scroll down and click Documents. In the Software section, click “MCP2200/MCP2221 Windows Driver and Installer”.
Get the MCP2221A USB-to-UART driver3. Build and Run
3.1 Booting-the-LS1043A
- Connect the power supply to the power jack of the MPC-LS-VNP-RDB board and the micro-B USB cable to the LS1043A USB3 console port. Make sure that the power status LED is glowing green on the board
- Select the COM port to which the USB3 console port is connected and click OK. Go to Setup → Serial Port and select 115200 as the baud rate. If no COM port is detected automatically, make sure that the MCP2221A driver is downloaded and installed correctly
- Press the reset button on the chassis back panel to reboot the board. The boot log appears in the console window
- After the boot completes, you will be prompted for a TinyDistro Login. Type “root” and then press enter. The getting started IPCF (InterPlatform Communications Framework) application is automatically executed on login
3.2 Booting-MPC5748G
- Connect the power supply to the power jack of the MPC-LS-VNP-RDB board and the micro-B USB cable to the MPC5748G USB4 console port. Make sure that the power status LED is glowing green on the board
- Select the COM port to which the USB4 console port is connected and click OK. Go to Setup → Serial Port and select 115200 as the baud rate. If no COM port is detected automatically, make sure that the MCP2221A driver is downloaded and installed correctly
- Press the reset button on the chassis back panel to reboot the board. The boot log appears in the console window
- The getting started IPCF (InterPlatform Communications Framework) application is automatically executed on login