Getting Started with the DEVKIT-S12VR64
Contents of this document
-
Plug It In
-
Get Software
-
Create, Build and Debug
Sign in to save your progress. Don't have an account? Create one.
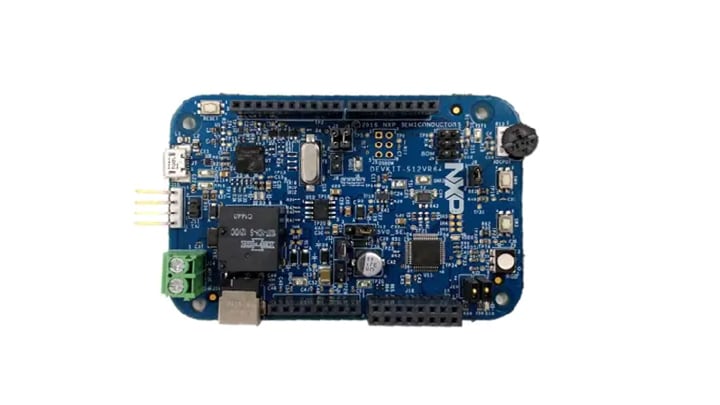
Purchase your S12VR64 Relay-based Motor Control Development Board
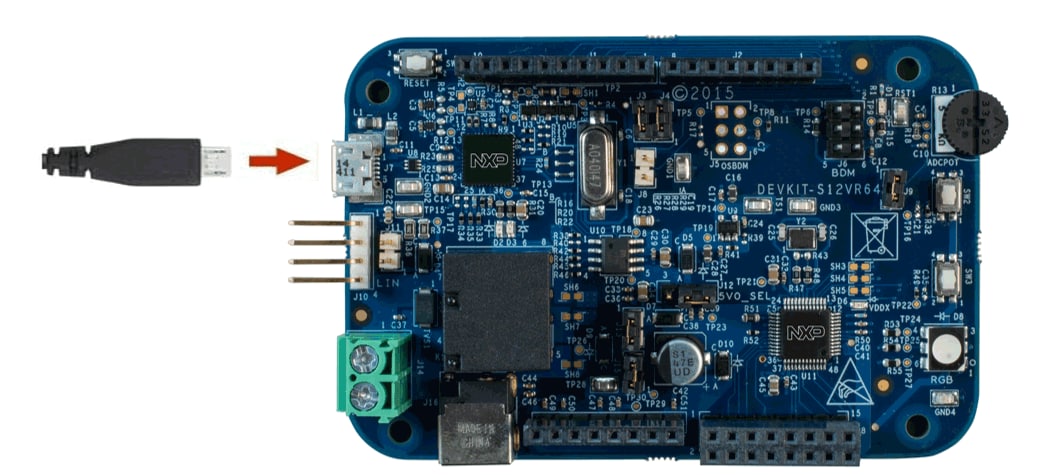
1. Plug It In
1.2 Run the Out-of-Box Demo
Your DEVKIT-S12VR64 comes pre-loaded with a simple code example that is switching the color of the LED.
2. Get Software
Choose a Development Path.
CodeWarrior v5.1 Integrated Development Environment (IDE)
- Plug-in support within Eclipse environment
- True debug support via BDM
- Code project examples
2.1 Jump Start Your Design
Getting Started with Quick Start Guide and Software Integration Guide within Quick Start Package.
2.2 Install CodeWarrior v5.1
CodeWarrior Development Studio for NXP HCS12 microcontrollers enable you to build and deploy HCS12 or HCS12X/XGATE systems quickly and easily.
2.3 PC Configuration
Once you connected your DEVKIT-S12VR64 to your PC, the drivers of your board will start to install, please wait while they are installed and do not unplug it.
3. Create, Build and Debug
Learn how to create a new project in CodeWarrior v5.1 and the basics to create your own code by running an easy example code.
3.1 Create a New Project in CodeWarrior v5.1
Follow the steps to create a new project in your workspace and load the configuration for your target device.
3.2 Create, Build and Run your Application
Create a hello world code within minutes and watch it working in your DEVKIT-S12VR64 board.
Design Resources
Board Documents
Support
Forums
Connect with other engineers and get expert advice on designing with the DEVKIT-S12VR64 on one of our community sites.